
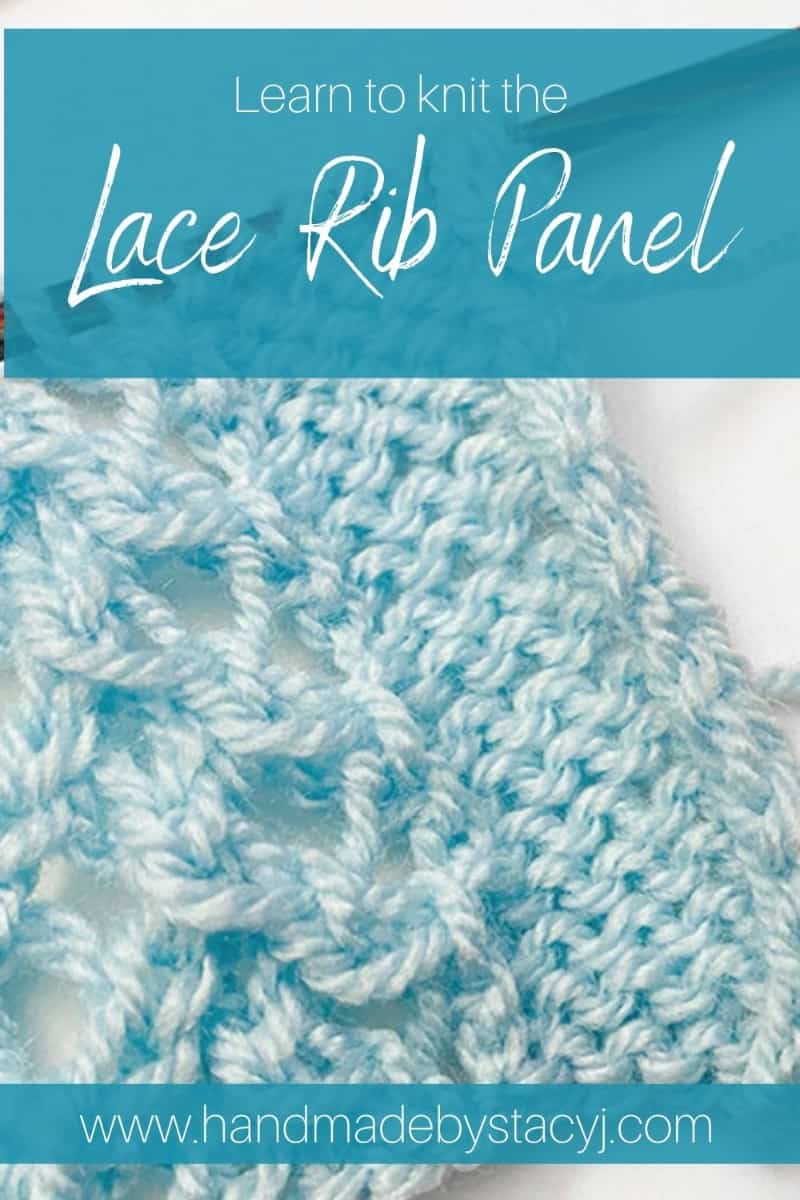
The Lace Rib Panel is a great way to get started if you haven’t knit lace before. The Lace Rib Panel is worked over 7 stitches and 4 rows – easy peasy, right? The video shows you step by step how to work the stitch which is really beautiful! (Oh! And, I apologize ahead of time. When you listen to the background, my little dog was snoring ?).
Disclosure: This post contains links to companies that I am affiliated with. By purchasing through that link, you allow the companies to pay me a small commission. And, as a result allows me to continue providing free content. Thank you for your support!
Difficulty level:
Easy
Stitches used:
Knit (k)
Purl (p)
Yarn Over (yo)
Special Stitches used:
Skpo: Slip, knit, pass over (slip one stitch purl wise, knit the next st, then pass slipped stitch over – one stitch decreased)
Sk2po: Slip, k2tog, pass over (slip one st purlwise, knit next 2 stitches together, then pass slipped stitch over – 2 stitches decreased)
Materials Needed:
Paintbox Yarns – Simply DK (100% Acrylic; 100g / 3.5oz; Light #3 weight); Color #131 Seafoam Blue
KnitPicks Straight Knitting needles, size 6 (4.00 mm)
Directions for the Lace Rib Panel:
For sample, I cast on 17 for a border of rev st st of 5 sts on each side. Directions below reflect only the lace portion of the pattern.
1 (RS): P1, yo, skpo, k1, k2tog, yo, p1
2 (WS): K1, p5, k1
3: P1, k1, yo, sk2po, yo, k1, p1
4: K1, p5, k1
Rep rows 1-4 until desired length is reached, binding off on row 4 as pattern.
If you prefer to be able a pdf, there is a free downloadable pdf below:
![]()
I hope you enjoy the tutorial and find it helpful! Please remember to tag me @handmadebystacyj so that I can see your makes. Thank you so much!
Stacy J
Subscribe on YouTube • Join me on Facebook • Follow on Instagram