
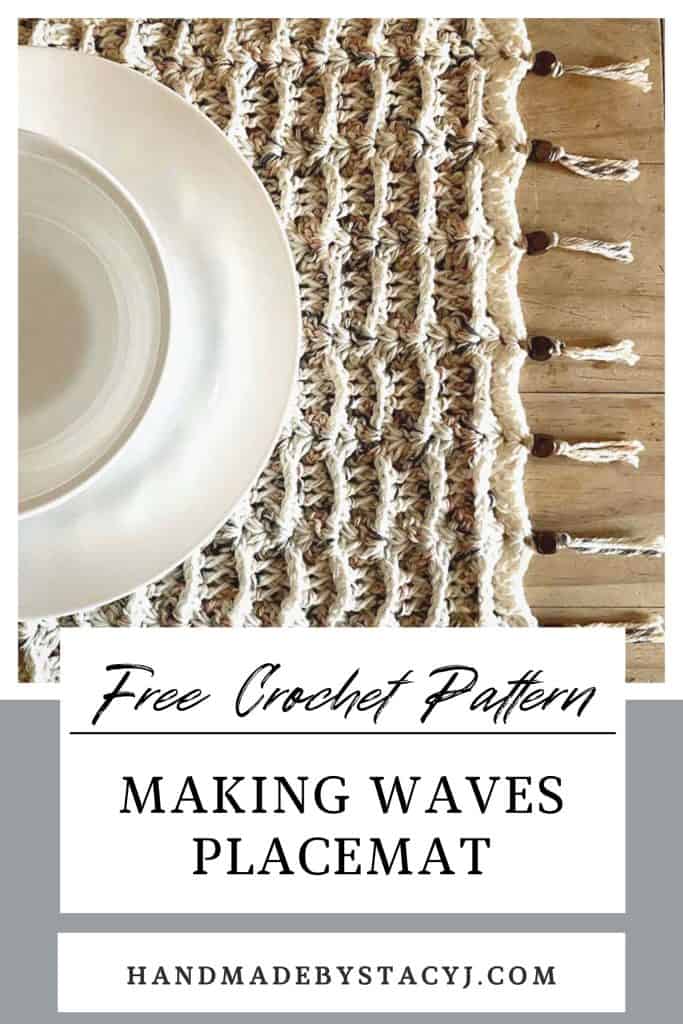
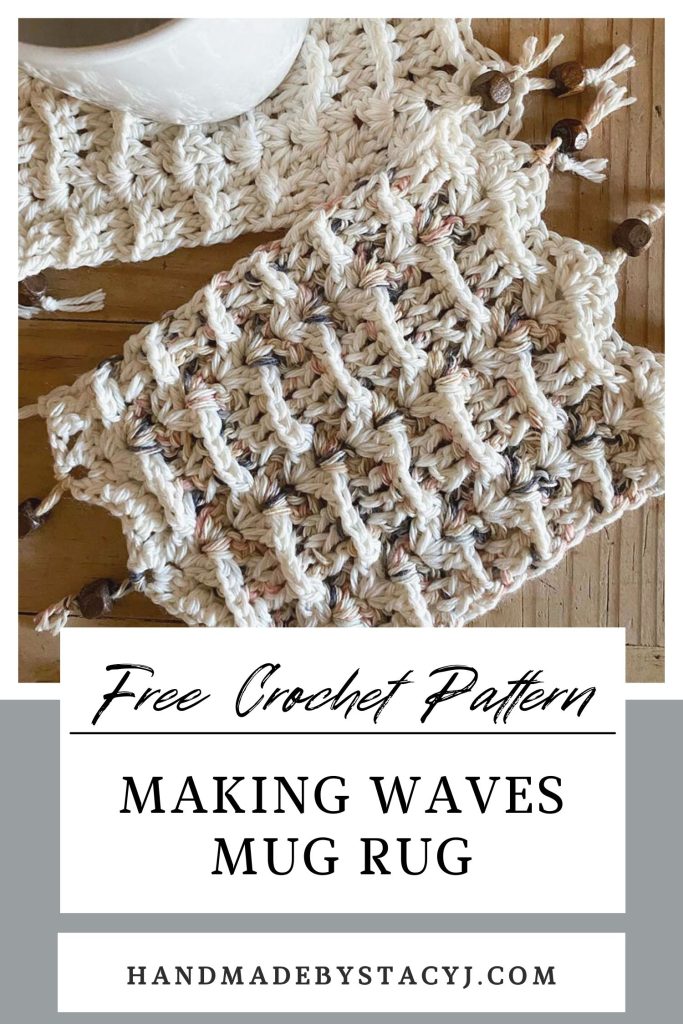
Today I am so excited to share with you the FREE crochet pattern for the Making Waves Mug Rug!
Disclosure: This post contains affiliate links. As an affiliate, when you purchase through my links, you allow the company to pay me a small commission without costing you a penny more, which allows me to continue making free content.
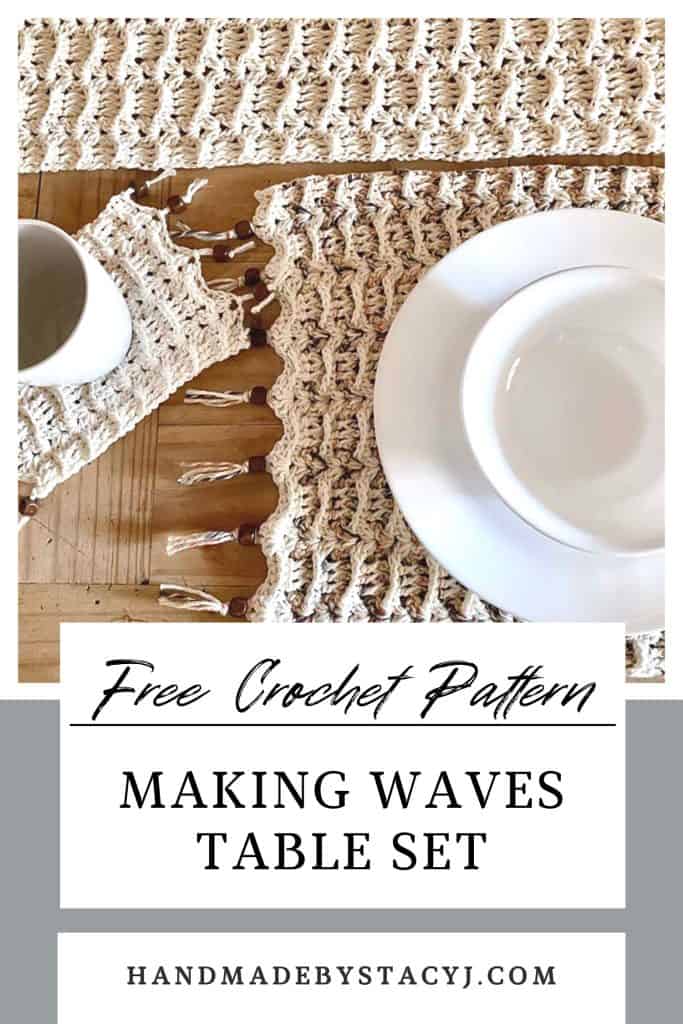
About the Making Waves Mug Rug
The Making Waves Mug Rug was designed for the 2023 “Cozy at Home” Crochet along with CAL Central as an accompanying pattern to the Table Runner. This crochet along’s theme was to make something cozy and comfy for your home, but also included home decor and utilitarian projects.
Each week from January 9, 2023 – March 13, 2023 a different designer released a new, never before released free crochet pattern. Well, this is my contribution! When I placed the entire set on my table to photograph, my hubby even came up to me and said, “Wow! The table looks fantastic!” So, it looks like I’ll be completing the set of placemats and adding some more mug rugs for our table now 🙂
If you’d like to see the free patterns for the table runner and the placemat, please click an image below

About the yarn
The yarn used is the Comfy Cotton Blend from Lion Brand. This is a DK / #3 light weight yarn. It offers lots of drape, is soft to use and offers lots of yardage in one skein.
This pattern is an EASY project. Therefore, a beginner could try this out, too. This free crochet pattern has been tested – thank you to all my lovely testers!
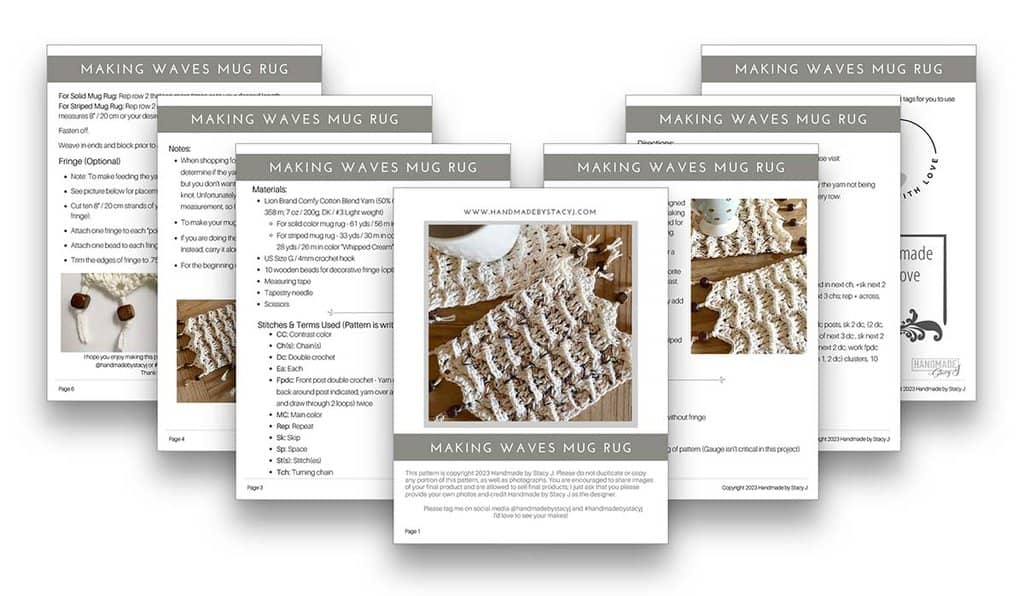
If you prefer a printable pdf that includes printable gift tags for gifting you can purchase through Ravelry (or add to your favorites or que) or you can purchase directly through my Etsy store.


Or, purchase the COMPLETE Making Waves Table Set
The complete set includes the individual table runner, placemat and mug rug pdf patterns at a discounted price in comparison to if they were purchased individually. If you prefer to shop with Ravelry, simply add all three patterns to your cart and a discount will automatically apply or you can purchase directly from my Etsy store.
Please note that due to this being a digital download, all sales are final and no refunds will be given. Thank you for your support!
Materials:
- Lion Brand Comfy Cotton Blend Yarn (50% Cotton / 50% Polyester; 392 yds / 358 m; 7 oz / 200g; DK / #3 Light weight)
- For solid color mug rug – 61 yds / 56 m in color “Whipped Cream”
- For striped mug rug – 33 yds / 30 m in color “Chai Latte” (Main color) and 28 yds / 26 m in color “Whipped Cream” (Contrast color)
- (If you need to shop online, here is my affiliate LoveCrafts link and here is my affiliate link for Lion Brand)
- US G / 4 mm crochet hook (My favorite is Furls!)
- 10 wood beads for decorative fringe (optional)
- Tapestry needle
- Scissors
- Measuring tape
Measures:
- 8” x 5.25” / 20 cm x 14 cm without fringe
- 9.5” x 5.25” / 24 cm x 14 cm with fringe
Difficulty Level:
Easy
Gauge:
Pattern for gauge is included below, right before the pattern directions (Gauge isn’t critical with this project, but will affect yarn usage)
Stitches & Abbreviations Used
(Pattern is written in US terms):
- CC: Contrast color
- Ch(s): Chain(s)
- Dc: Double crochet
- Ea: Each
- Fpdc: Front post double crochet – Yarn over, insert hook from front to back around post indicated, yarn over and draw up a loop, (yarn over and draw through 2 loops) twice
- MC: Main color
- Rep: Repeat
- Sk: Skip
- Sp: Space
- St(s): Stitch(es)
- Tch: Turning chain
Notes:
- When shopping for beads, take 2 pieces of yarn with you to the store to determine if the yarn will fit through the bead. You want it to fit through with ease, but you don’t want the hole of the bead to be too large, as it might slide over the knot. Unfortunately, when I purchased my beads, they didn’t have a specific measurement, so I used my best judgment.
- To make your mug rug wider or thinner, add or subtract in increments of 8.
- If you are making the striped mug rug, do not cut the yarn at the end of each row. Instead, carry it along with your work.
- For the beginning chain, chain loosely or go up a hook size.
Gauge Pattern:
(Gauge is not critical in this project, but will affect yarn usage)
- With US G / 4mm crochet hook, loosely ch 21
- Work row 1 of pattern
- Work row 2 of pattern four times
- Gauge swatch should measure 4” / 10 cm wide x 2 7/8” / 7.3 cm tall from the top of a shell to the bottom of the piece.
Directions for Making Waves Mug Rug:
Notes: For the striped mug rug, use the following sequence and carry the yarn (do not cut the yarn) not being currently used with your work, as you’ll be changing colors every row.
- Rows 1 – 2: CC
- Rows 3, 5, 7, 9, 11 and 13: MC
- Rows 4, 6, 8, 10, 12: CC
- Rows 14 and 15: CC
With US G / 4mm crochet hook and CC, loosely chain 29
Row 1: Dc in 4th ch from hook (3 skipped chs count as dc) and in next ch, *sk next 2 chs, (2 dc, ch 1, 2 dc) in next ch, sk next 2 chs, 1 dc in ea of next 3 chs; rep * across, turn. Stitch count: 3 (2 dc, ch 1, 2 dc) clusters, 12 dc
Row 2 (Pattern repeat): Ch 2, work fpdc around ea of next 2 dc posts, sk 2 dc, (2 dc, ch 1, 2 dc) in next ch-1 sp, *sk next 2 dc, work fpdc around ea of next 3 dc , sk next 2 dc, work (2 dc, ch 1, 2 dc) in next ch-1 sp; rep * to last 5 sts, sk next 2 dc, work fpdc around next 2 dc, dc in top of tch, turn. Stitch count: 3 (2 dc, ch 1, 2 dc) clusters, 10 fpdc, 1 dc, 1 ch-2
For Solid Mug Rug: Rep row 2 thirteen more times or to your desired length.
For Striped Mug Rug: Rep row 2 alternating colors (do not cut yarn) for each row until the piece measures 8” / 20 cm or your desired length, ending with two final rows of CC.
Fasten off.
Weave in ends and block prior to adding fringe and the beads.
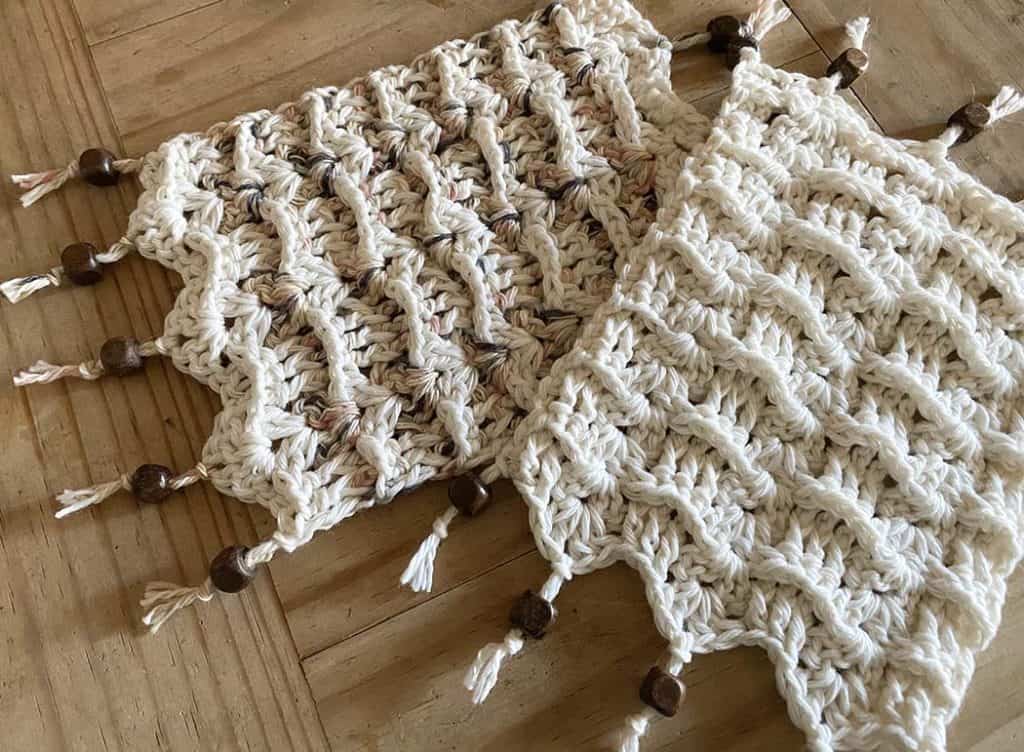
Fringe (Optional)
- Note: To make feeding the yarn through the bead easier, use a tapestry needle
- Cut ten 8” / 20 cm strands of yarn (If you did the striped version, use MC for fringe)
- Attach one fringe to each “point” and one on each of the outer edges
- Attach one bead to each fringe and then secure it with a knot.
- Trim the edges of fringe to .75” / 1.9 cm or length desired
Please take pictures and tag me at #handmadebystacyj and @handmadebystacyj
Stacy J
Subscribe on YouTube • Join me on Facebook • Follow on Instagram
Patterns on Ravelry • Inspiration on Pinterest
This free crochet pattern is copyright 2023 Handmade by Stacy J. Please do not duplicate or copy any portion of this pattern, as well as photographs. You are encouraged to share images of your final product and are allowed to sell final products; If you sell your final product, I just ask that you please purchase the ad-free pdf and credit Handmade by Stacy J as the designer. Thank you!