Little Knit Pumpkin

The Little Knit Pumpkin was designed because Fall was approaching and I hadn’t knit a pumpkin before. As I was playing around with ideas, more ideas came to me – how about a leaf? A soft stem? Oh! How about a curly q? So, this Little Knit Pumpkin was born. It’s quick, easy and super squishy (even my 22 year old son wants one!). You can adapt it to any size by simply casting on more or less stitches and then adapting the length to be double the length of your cast on. There is also a free printable gift tag available for gifting your pumpkin at this link.

Disclosure: This post contains affiliate links. As an affiliate, when you purchase through my links, you allow the company to pay me a small commission without costing you a penny more, which allows me to continue making free content. Thank you for your support!

Measures:

3″ / 7.6 cm tall x 5″ / 12.7 cm across

Materials Needed:

To view a video tutorial on how to make the Little Knit Pumpkin, click on the link below. This will take you to my YouTube tutorial. There are time stamps in the show notes section to help guide you to the section that you might need to access.


Stitches and abbreviations used:

Bind off

Ea: Each

K: Knit

K2tog: Knit two stitches together

K3tog: Knit three stitches together

KFB: Knit into the front and back of the same stitch (1 stitch increased)

Kfbf: Knit into the front, then back and then the front of the same stitch (2 stitches increased)

Long-tail cast on

P: Purl

P2tog: Purl two stitches together

Pfb: Purl into the front and the back of the same stitch

St (s): Stitch (es)

Pin of Little Knit Pumpkin from Handmade by Stacy J
Here’s a pin for your Pinterest board 🙂

Directions for Little Knit Pumpkin

  1. Using the long-tail cast on method, cast on 30 stitches. Be sure to leave a tail of about 12″ / 30.5 cm – 16″ / 40.6 cm for sewing later.
  2. Knit in garter stitch (knitting each row) until piece measures double what your cast on measures. (In my case, the cast on row measured 7″ / 17.8 cm, so I knit until the panel measured 14 / 35.6 cm”).
  3. Bind off knit-wise leaving a 36″ / 91.5 cm long tail.

Sewing the Little Knit Pumpkin

  1. Fold the panel in half so that the short sides meet each other.
  2. Using the shorter tail left from the cast on, sew the two short sides together.
  3. Turn piece inside out so that the seam is in the inside of the pumpkin.
  4. Using the long tail, sew around one opening using a long or running stitch so that the piece can be gathered.
  5. Gather your stitches and secure that end of the pumpkin by sewing a few more stitches. DO NOT CUT YOUR YARN
  6. Push yarn and needle through the center of the bottom (where you just gathered your stitches) to the top opening of the pumpkin.
  7. Sew half way around the top of the pumpkin using the long / running stitch as you did for the bottom.
  8. Before finishing the top, stuff the pumpkin to your desired fullness.
  9. Finish sewing the top and gather the stitches.
  10. Secure the top stitches by sewing a couple of stitches. DO NOT CUT YOUR YARN
  11. Push the needle with yarn through the center of the pumpkin from top to bottom and give a little tug (to give more shape, push the top slightly with your finger to guide the shaping).
  12. Secure the shaping by sewing a couple stitches at the bottom of the pumpkin.
  13. Moving the needle with yarn around the outside of the pumpkin, sew through the top to the bottom of the pumpkin, giving the yarn a tug as it comes out the bottom (this will create a pumpkin segment).
  14. Repeat the last step to create as many segments as you like.
  15. When you are done creating the segments, secure the yarn by sewing a few stitches at the bottom of the pumpkin.
  16. NOW, you can cut your yarn 🙂
Little Knit Pumpkin from Handmade by Stacy J

Stem Directions for Knit Pumpkin

  1. Cast on 10 stitches
  2. Work garter stitch until piece measures .75″ / 2 cm
  3. Bind off knit-wise leaving a 12″ / 30.5 cm tail
  4. Fold stem in half so that the long ends meet
  5. Sew the long sides of the stem together starting at the top and then working your way down the side. Do not sew together the bottom section of the stem, as that will be sewn to your pumpkin.
  6. Attach stem to pumpkin.

Leaf Directions for Knit Pumpkin

  1. Cast on 1 stitch leaving a 10″ / 25.4 cm tail for sewing
  2. Kfbf (3 sts)
  3. K1, kfbf, k1 (5 sts)
  4. [P1, pfb] twice, p1 (7 sts)
  5. K2, kfb, k1, kfb, k2 (9 sts)
  6. P3, pfb, p1, pfb, p3 (11 sts)
  7. Knit across
  8. P3, p2tog, p1, p2tog, p3 (9 sts)
  9. K2, k2tog, k1, k2tog, k2 (7 sts)
  10. [P1, p2tog] twice, p1 (5 sts)
  11. K1, k3tog, k1 (3 sts)
  12. Using tapestry needle, draw yarn through the three live stitches and pull to secure.
  13. Fasten off and weave in end and use the other tail to sew to your pumpkin or the Curly Q.

Curly Q Directions for Knit Pumpkin

Below are two types of directions for the Curly Qs.

Option 1 (Softer curl)

  1. Cast on 20 (You can cast on as many stitches as you like, but 20 is what I use for the pumpkin)
  2. Kfb across
  3. Bind off knit-wise

Option 2 (Tighter curl – this is the option I use for the example)

  1. Cast on 20 (this works with any multiples, so feel free to cast on as many as you like)
  2. Kfbf across
  3. Bind off knit-wise

Sew to your pumpkin, take a pic and tag me on social media @handmadebystacyj or #handmadebystacyj. I’d love to see your pumpkin!

This pattern is copyright 2022 Handmade by Stacy J. Please do not duplicate or copy any portion of this pattern, as well as photographs. You are encouraged to share images of your final product and are allowed to sell final products; If you sell your final product, I ask that you please credit Handmade by Stacy J as the designer. Thank you!

Subscribe on YouTubeJoin me on FacebookFollow on Instagram

Patterns on RavelryInspiration on Pinterest

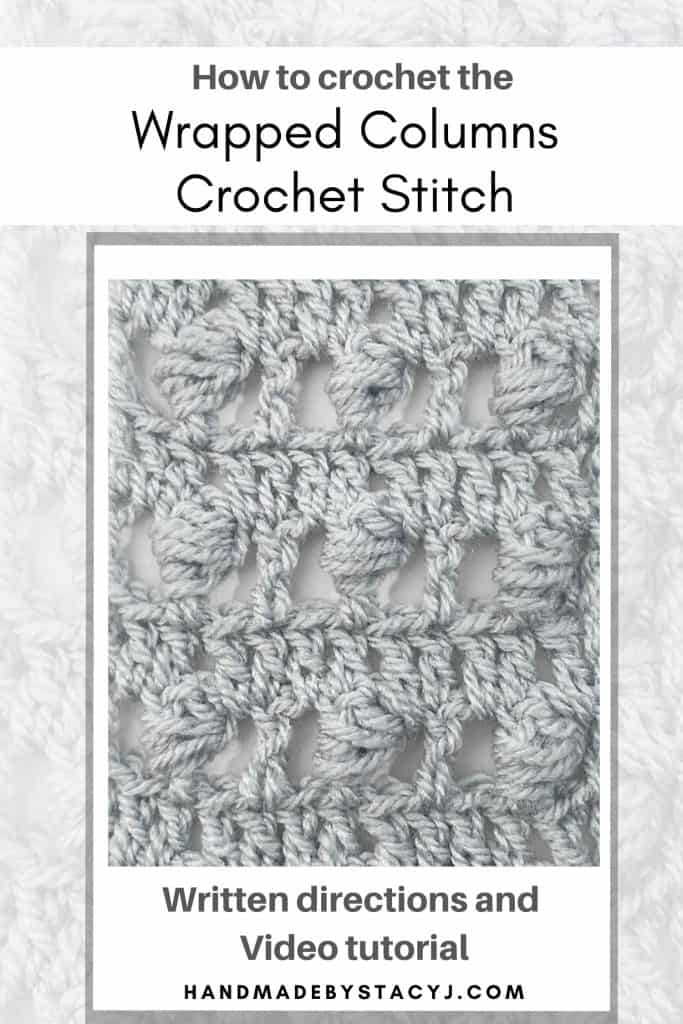
Wrapped Columns Crochet Stitch


The Wrapped Columns crochet stitch is a very simple and fun crochet stitch to learn. The columns in the stitch are wrapped with yarn overs around the post of the double crochet, creating an interesting look.

This stitch is a combination of double crochet, chains and yarn overs. It creates a wonderful fabric and, as a result, works up very quickly, too!

The Wrapped Columns crochet stitch is a beginner friendly stitch that be wonderful for a fun accent to a garment, a shawl or a scarf!

Disclosure: This post contains affiliate links; I am an affiliate with these companies and highly recommend them. As an affiliate, when you purchase from those links, you allow the companies to pay me a small commission. This doesn’t cost you any more, and allows me to making free content. Thank you for your support!


To see a video tutorial of the Wrapped Columns crochet stitch, click on the video above or you can also click HERE.

For the tutorial, I used King Cole “Baby Superball DK” yarn in the color “Silver”. To find your local store that stocks King Cole yarns, here is the stockist finder link.

Or, if you need to shop for yarn online, here is my LoveCrafts affiliate link.

If you’re looking for your next favorite hook, click HERE to check out Furls!


Stitches and abbreviations used:

Pattern is written in US terms

Ch: Chain

Dc: Double crochet

Ea: Each

Rem: Remaining

Rep: Repeat

RS: Right Side

Sk: Skip

Sp: Space

St(s): Stitch (es)

Tch: Turning Chain

WS: Wrong Side

Yo: Yarn over

Special stitch:

  • FP Puff St: Front Post Puff Stitch – [Yo once, insert hook from front to back around post of indicated stitch, Yo and pull up a loop] three times, Yo and draw through all 7 loops on hook.


Here’s a pin to add to your Pinterest board 🙂


Notes:

  • Ch-3 at beg of row counts as first dc
  • Ch-4 at beg of row counts as first dc and ch 1

Directions for the Wrapped Columns crochet stitch

Stitch works in multiples of 4 + 1 (+ 2 for the base chain)

1 (RS): Work 1 dc in fourth ch from hook (skipped chs count as first dc) and then 1 dc in ea ch across

2 (WS): Ch 4, turn. Sk 1, 1 dc I next st, work FP Puff St around post of dc just made, *[ch 1, sk 1, 1 dc] 2 times, FP Puff St around post of dc just made; rep * until 2 sts rem ending with ch 1, sk 1, 1 dc in top of tch.

3: Ch 3, turn. *1 dc in ch-1 sp, sk FP Puff St, 1 dc in top of dc that FP Puff St is made around, 1 dc in ch-1 sp, 1 dc in top of next dc; rep * ending with dc in top of tch.

Repeat rows 2-3 to desired length.

I hope you enjoyed learning this stitch as much as I did. When you make something with it, could you please tag me @handmadebystacyj or #handmadebystacyj? I’d love to see what you create!

Stacy J

YouTubeFacebookInstagramRavelryPinterest

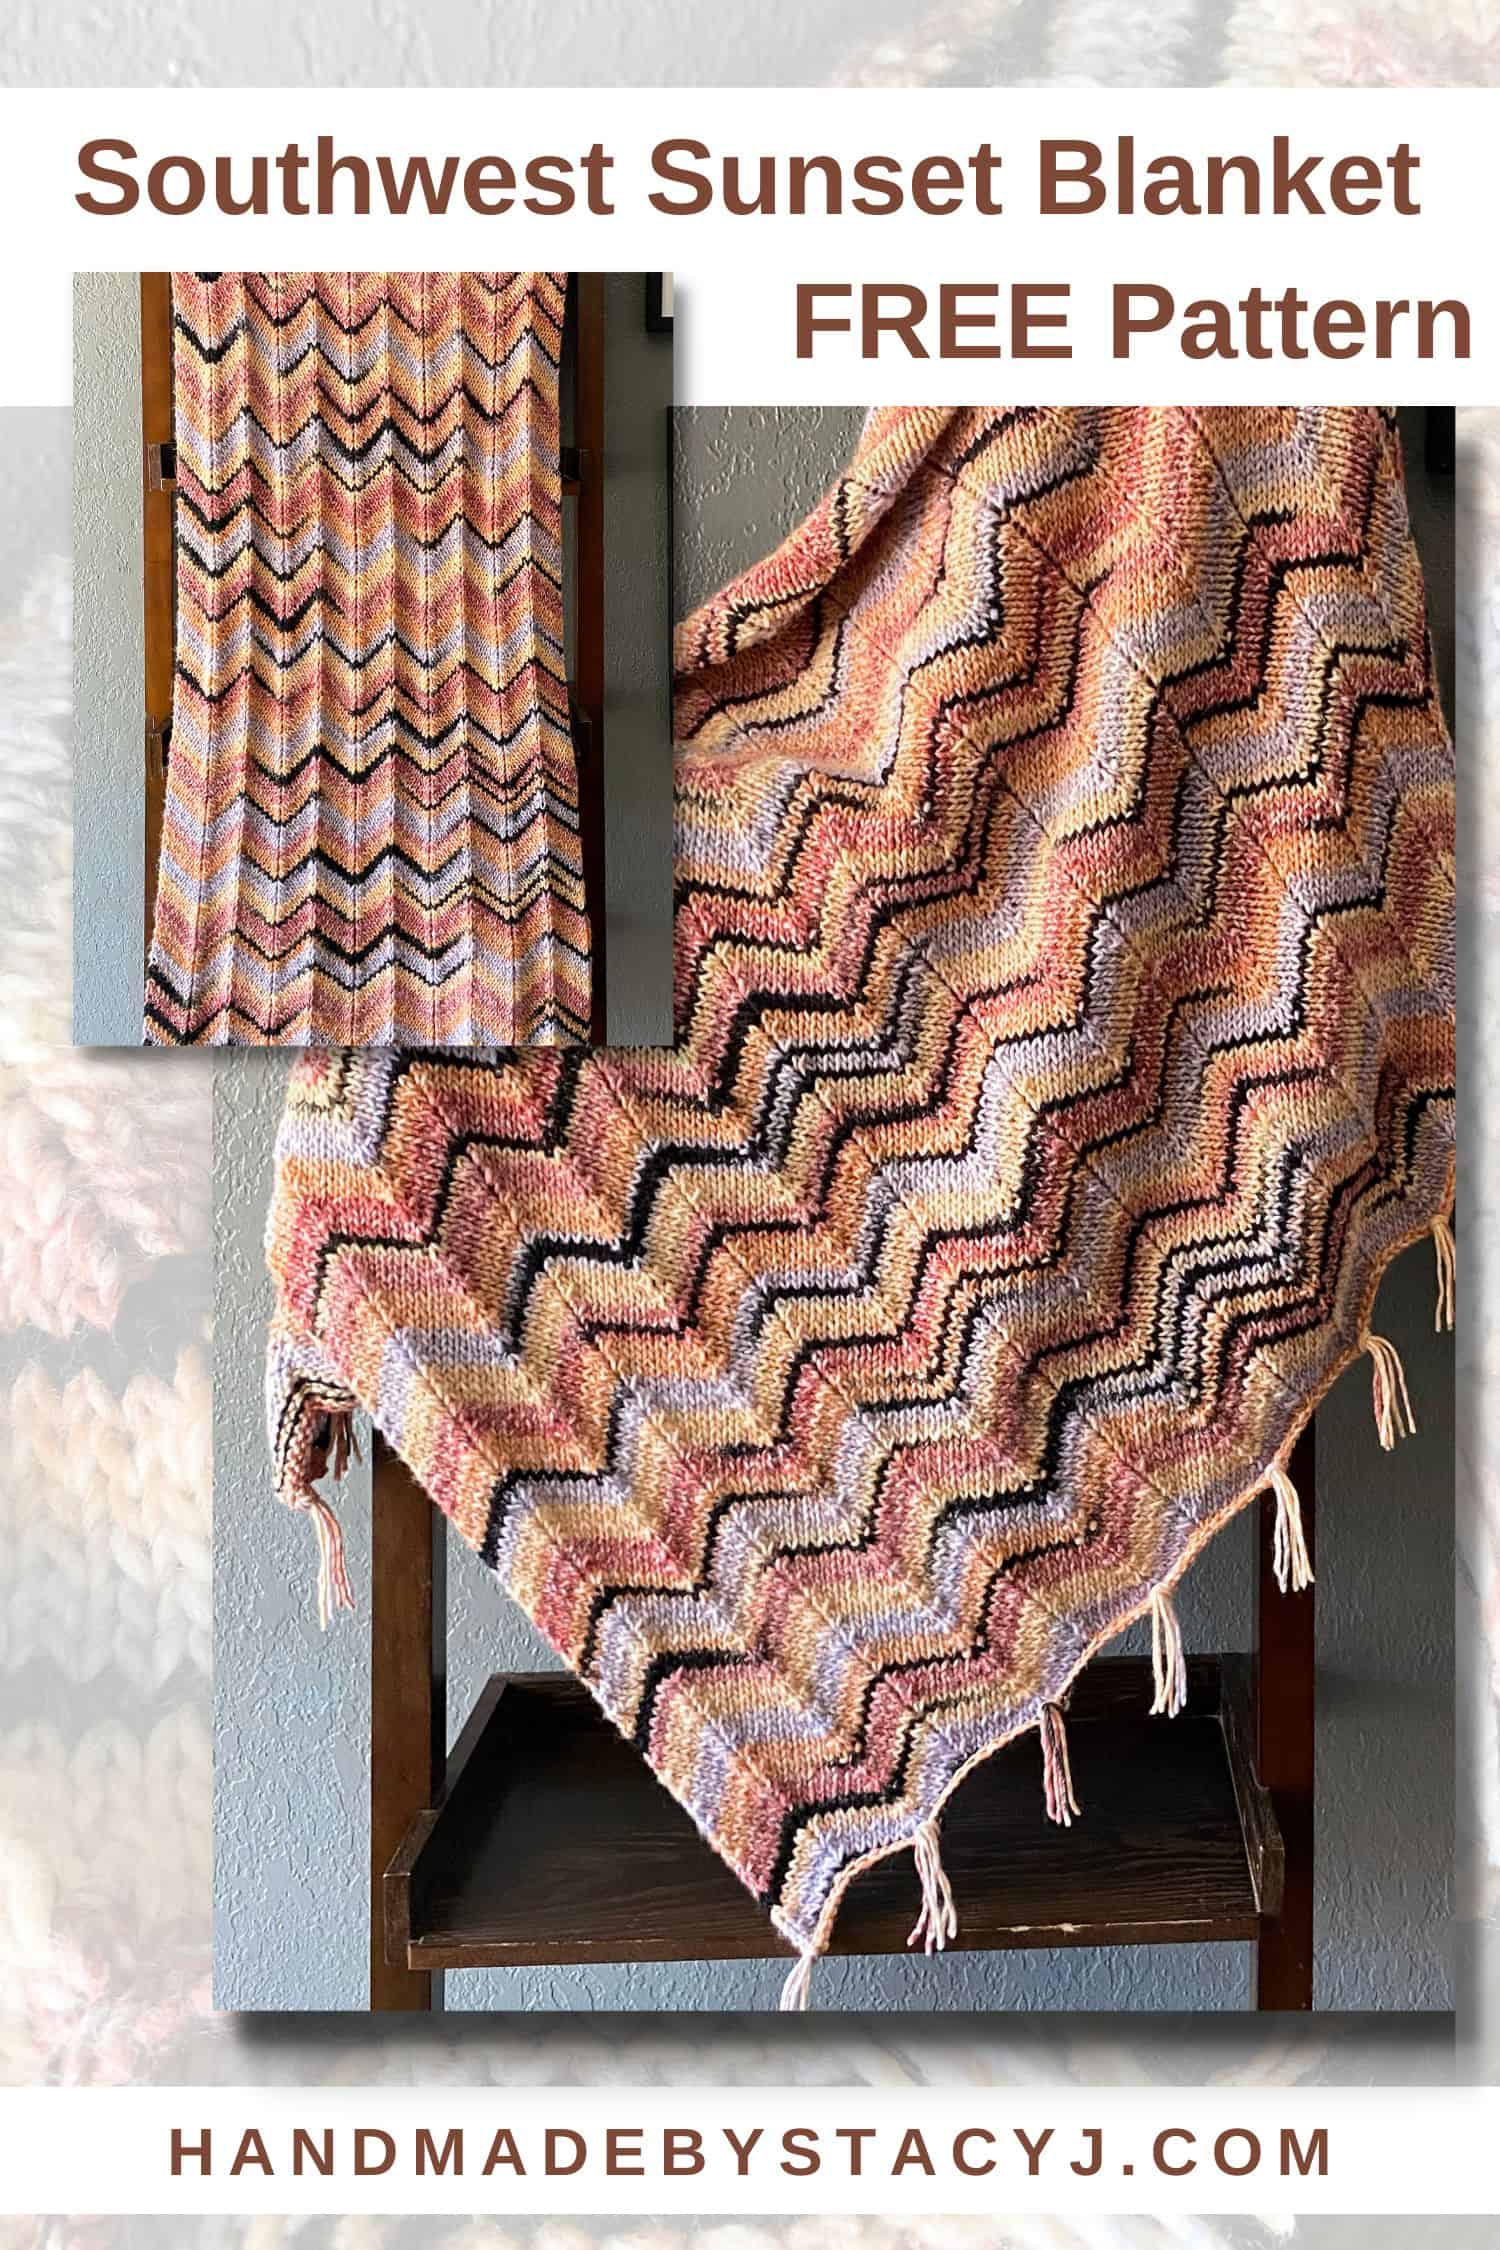
Southwest Sunset Blanket – Free Knit Pattern

The inspiration of the blanket

The Southwest Sunset Blanket was inspired by the yarn that I used to make it. As an ambassador for King Cole Yarns, they sent me a sample cake of the Safari Chunky yarn. When I was playing with it, it screamed out to me “I want to be a big, squishy, rippley blanket!”

About the yarn

As I was picking out the colors, the color “Sunset” was really catching my eye. So, I ordered some and started right away. The colors are so beautiful! They have a fairly slow changing stripe with intermittent black sections that remind me of the sunsets here in Arizona. I typically refuse to work with the color black; However the sections are short enough that the black was easy to work with. Plus, it’s such a rich, beautiful black that I found myself looking forward to those sections.

If you’d like to read my review of the King Cole Safari Chunky Yarn, please click HERE.

The blanket uses Safari Chunky yarn and size US 10.5 knitting needles. As a result of using larger yarn and needles, it is very quick and simple knit!


About the blanket

The 16 stitch knitted panel is simple to memorize and works over a 2 row repeat. The points at the end are highlighted with small fringes of only 3 strands of yarn used for each fringe. It does work up fairly quickly because of the chunky yarn. The 2 row repeat is good for when you want to knit while binging your favorite tv show (or podcast, in my case!)

The blanket is sized for a 50″ x 60″ throw and the terms are written using US terminology. The stitch pattern works in multiples of 16+2, so you can customize the size to your liking. I’ve created a video to help with starting your blanket, placing the stitch markers, the bind off (this part is super important) and working with the fringe.


Disclosure: The Southwest Sunset Blanket post contains affiliate links. As an affiliate, when you purchase through my links, you allow the company to pay me a small commission without costing you a penny more, which allows me to continue making free content. The yarn for this pattern was provided to me from King Cole – I am a King Cole Brand Ambassador and this post is part of our ongoing collaboration. Thank you for your support!


If you prefer and ad free pdf that includes a chart, larger font and gift tags for gifting your blanket, you can click here to purchase off of Ravelry (or add it to your favorites or que), or you can purchase from my Etsy store. 


Pin of Southwest Sunset Knit Blanket from Handmade by Stacy J
Here’s a pin to save to your Pinterest board 🙂


Materials needed:

Size: 50″ x 60″ / 127 cm x 152.4 cm

Gauge: 13 stitches x 18 rows = 4” x 4” / 10 cm x 10 cm In stockinette stitch pattern

Pattern Difficulty level: Easy

If you prefer and ad free pdf that includes a chart, larger font and gift tags for gifting your blanket, you can click here to purchase off of Ravelry (or add it to your favorites or que), or you can purchase from my Etsy store.

Stitches & Terms Used

(Pattern is written in US terms):

Bind off

K: Knit

K2tog: Knit 2 together

Kfb: Knit Into the front and back of the same stitch

Long tail cast on

P: Purl

Ssk: Slip 2 stitches one at a time knit wise; then place those 2 stitches back on left needle and knit those 2 stitches together through the back loop

Notes:

  • Stitch Pattern is worked using multiples of 16 + 2; please note that if you change the size of your blanket or knit using a gauge different than mine, your yarn quantities will vary.
  • For your first time knitting Row 2, insert a stitch marker between each * repeat. This will make keeping track of your stitches much easier.

Directions for Southwest Sunset Blanket

Click here to view the video tutorial

  • Using Long tail cast on method, cast on 178
  • Row 1 (WS): Purl
  • Row 2 (RS): K1, *kfb, k5, ssk, k2tog, k5, kfb; repeat * across to last stitch, k1

Repeat rows 1-2 until blanket measures 60″ / 152.4 cm or your desired length. Then bind off in pattern (if you need to view how to do this specific bind off, click here).

I recommend blocking your blanket prior to attaching the fringe so that your points are more prominent for attaching fringe.

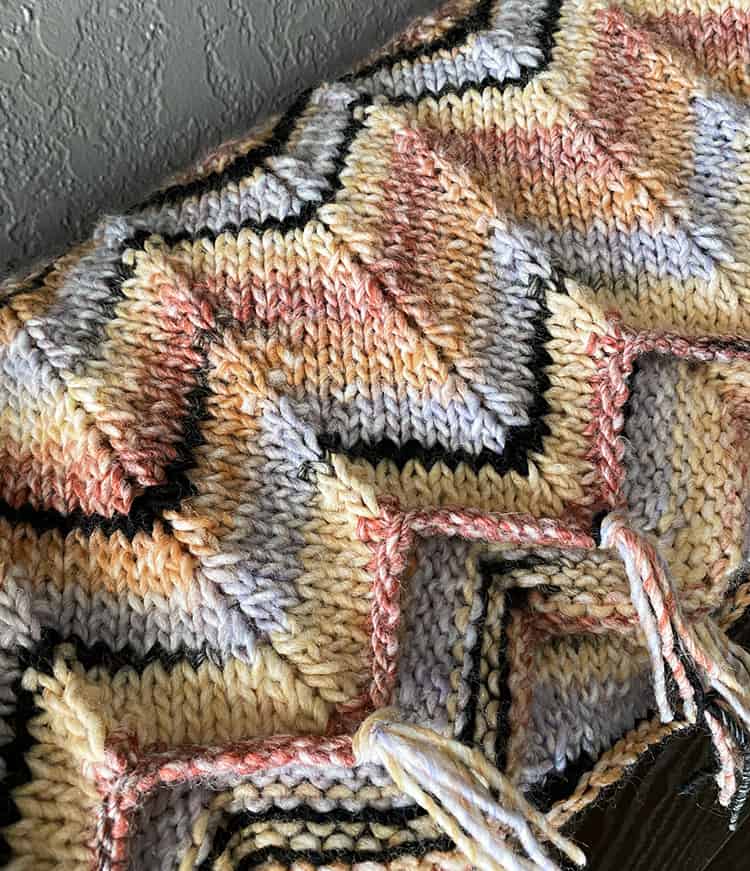
Close up image of Southwest Sunset blanket from Handmade by Stacy J

Fringe

Cut three 10″ / 25.4 cm pieces of yarn for each “point” on the ends of the blanket. If you cast on 178, you’ll end up with 66 pieces.

Use 3 strands of the cut yarn with a crochet hook or tool of your choice and attach the fringe at each point.

After all points have fringe, trim to an even length throughout.


If you enjoyed this blanket, here are a few more knit patterns that are available for free to view on the website 🙂

Free knitting pattern cables and lace dishcloth pin from Handmade by Stacy J

Linked in Lace Wrap free knitting pattern Pin from Handmade by Stacy J

Wrap up In your blanket, enjoy a nap using it, then please take pictures! Please tag me on social media @handmadebystacyj or #handmadebystacyj so that I can see your beautiful blanket 🙂

Subscribe on YouTubeJoin me on FacebookFollow on Instagram

Patterns on RavelryInspiration on Pinterest

This free knitting pattern is copyright 2022 Handmade by Stacy J. Please do not duplicate or copy any portion of this pattern, as well as photographs. You are encouraged to share images of your final product and are allowed to sell final products; I just ask that if you sell your final product, please purchase the ad-free pdf, provide your own photographs and that you please credit Handmade by Stacy J as the designer. Thank you for your support!

Gift Tags

©2022 Handmade by Stacy J


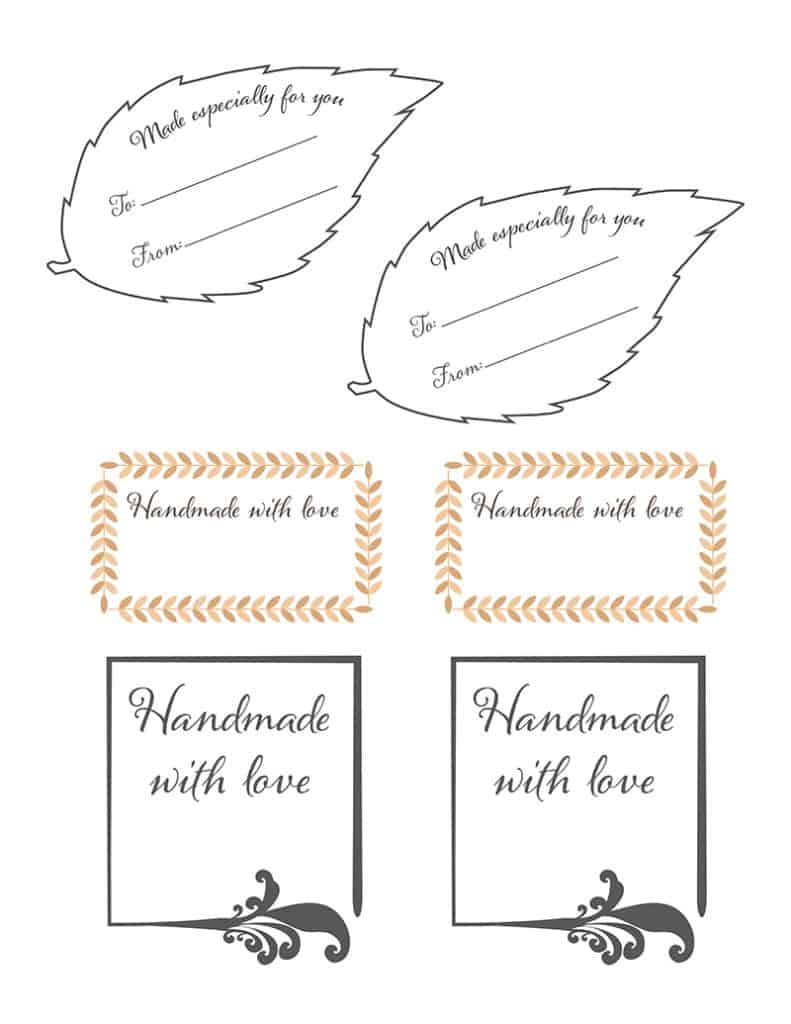
Please enjoy these printable gift tags that I’ve designed for you.

The leaf tags would be wonderful for the Pumpkin knit pattern that I’ve designed (Here is the link for that pattern). Just imagine how cute it would be to have the pumpkin set at the seat of your guest with their name on the tag.

Feel free to print out this pdf and then use them for your makes.

To use these tags, simply download the link below, then print the pdf.

  Fall Gift Tag printables from Handmade by Stacy J

I hope you enjoy the tags. Enjoy!

Stacy J

Subscribe on YouTubeJoin me on FacebookFollow on Instagram

Patterns on RavelryInspiration on Pinterest

Baby Cable & Garter Ridges


The Baby Cable & Garter Ridges is a simple cable stitch that creates a beautiful pattern with loads of texture and interest. It’s worked in multiples of 25 stitches and uses a Cable 4 Front stitch, and as a result adds interest and creates a lovely dense fabric that would be a great to use for a sweater, hat, scarf or a blanket.

There is a knitting chart below for reference, as well as a video link above to help you.


Disclosure: This post contains affiliate links. As an affiliate, when you purchase through my links, you allow the company to pay me a small commission without costing you a penny more, which allows me to continue making free content. Thank you for your support!

Materials needed

(listed below is what I used to create the sample of the stitch pattern)

Stitches and abbreviations used

K: Knit

P: Purl

RS: Right side

St(s): Stitch (es)

C4F: Cable 4 Front – slip next 2 sts from left hand needle to cable needle, hold to front, k2 from left hand needle, then k2 from cable needle

Rep: Repeat

WS: Wrong side

X: Times (example: 3x = 3 times)

Pin for how to knit the Baby Cable and Garter Ridges stitch from Handmade by Stacy J
Here’s a pin for your Pinterest board 🙂

Notes:

  • If you’d like to minimize the gap from the cable, try giving the yarn a light tug on the stitch afterward to close up the gap a little bit.

Directions for Baby Cable and Garter Ridges Stitch:

  • Row 1 (RS): *P9, k4, p12; rep * to end
  • Row 2 (WS): *[P3, k1] 3x, p4, k1, [p3, k1] 2x; rep * to end
  • Row 3: *[P1, k3] 2x, p1, c4f, [p1, k3] 3x; rep * to end
  • Row 4: As row 2

Repeat rows 1-4 to desired length and then bind off in pattern.


If you enjoyed learning this stitch, here are a few more that are available to view on the website 🙂

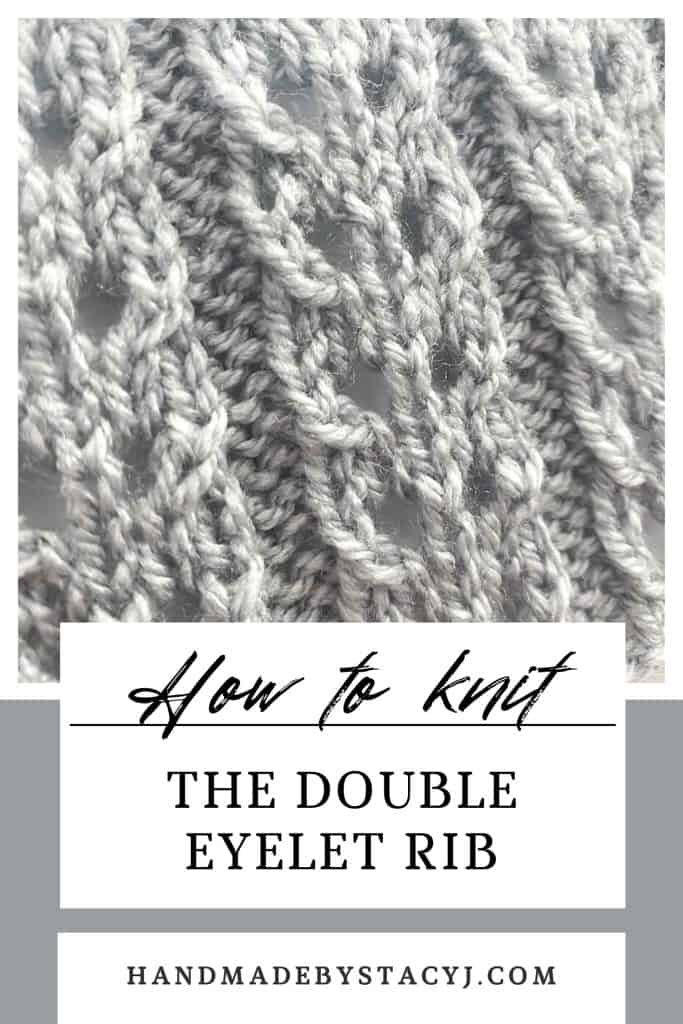
How to knit the Double Eyelet Rib from Handmade by Stacy J
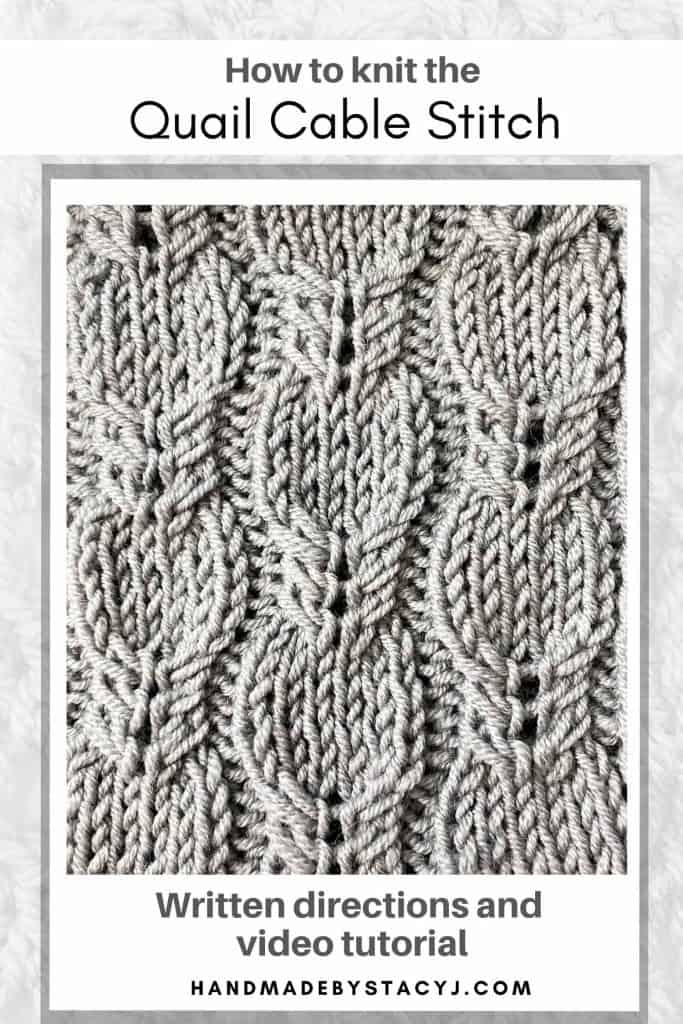
Pin of Quail Cable Stitch from Handmade by Stacy J

Knitting chart that shows how to knit the Baby Cable and Garter Ridges stitch from Handmade by Stacy J

I hope you enjoyed learning this stitch as much as I did. Please tag me @handmadebystacyj when posting on social media – I’d love to see your makes!

Stacy J

YouTubeFacebookInstagramRavelryPinterest

Little Boxes Stitch


The Little Boxes stitch is a very simple and fun crochet stitch to learn. It has a textured front and the back is flat. And, although it looks very similar to the crocheted Waffle stitch, it is worked just a little bit differently.

This stitch is a combination of front and back post double crochet. It creates a wonderful fabric and, as a result, works up very quickly, too!

The Little Boxes stitch is a beginner friendly stitch that be wonderful for a warm blanket, scarf or a hat!

Disclosure: This post contains affiliate links; I am an affiliate with these companies and highly recommend them. As an affiliate, when you purchase from those links, you allow the companies to pay me a small commission. This doesn’t cost you any more, and allows me to making free content. Thank you for your support!


To see a video tutorial of the Little Boxes stitch, click on the video above. You can also click HERE. At the bottom of the post there is also a chart for your reference.

If you’re looking for your next favorite hook, click HERE to check out Furls!

Stitches and abbreviations used:

Pattern is written in US terms

Ch: Chain

Dc: Double crochet

Ea: Each

Hdc: Half double crochet

Rep: Repeat

RS: Right Side

St(s): Stitch (es)

Tch: Turning Chain

WS: Wrong Side

Yo: Yarn over

Special stitches:

  • BPDC: Back Post Double Crochet – Yo once, insert hook back to front around indicated stitch, draw up a loop (3 loops on hook), [yo, draw through 2] two times
  • FPDC: Front Post Double Crochet – Yo once, insert hook front to back around indicated stitch, draw up a loop (3 loops on hook), [yo, draw through 2] two times

How to crochet the Little Boxes stitch from Handmade by Stacy J
Here’s a pin for your Pinterest board 🙂

Notes:

  • Ch-2 at beg of row counts as first hdc
  • Ch-3 at beg of row counts as first dc

Directions for the Little Boxes stitch

Chain in multiples of 4 + 5 for base chain

1 (RS): Work 1 dc in fourth ch from hook (skipped chs count as first dc) and then in ea ch across

2: Ch 2, turn; (WS): 1 FPDC around ea of the next 2 sts, 1 BPDC around next st, *1 FPDC around ea of the next 3 sts, 1 BPDC around next st; rep * to last 3 sts, work 1 FPDC around ea of next 2 sts, 1 hdc in top of tch

3: Ch 3, turn; (WS): Dc in ea of the next 2 sts, 1 FPDC around next st, *1 dc in ea of the next 3 sts, 1 FPDC around next st; rep * to last 3 sts, 1 dc in ea of the last 3 sts

Repeat rows 2-3 to desired length.

Chart showing how to crochet the Little Boxes stitch from Handmade by Stacy J

I hope you enjoyed learning this stitch as much as I did. When you make something with it, could you please tag me @handmadebystacyj or #handmadebystacyj? I’d love to see what you create!

Stacy J

YouTubeFacebookInstagramRavelryPinterest

Care Instruction Symbols

©2022 Handmade by Stacy J

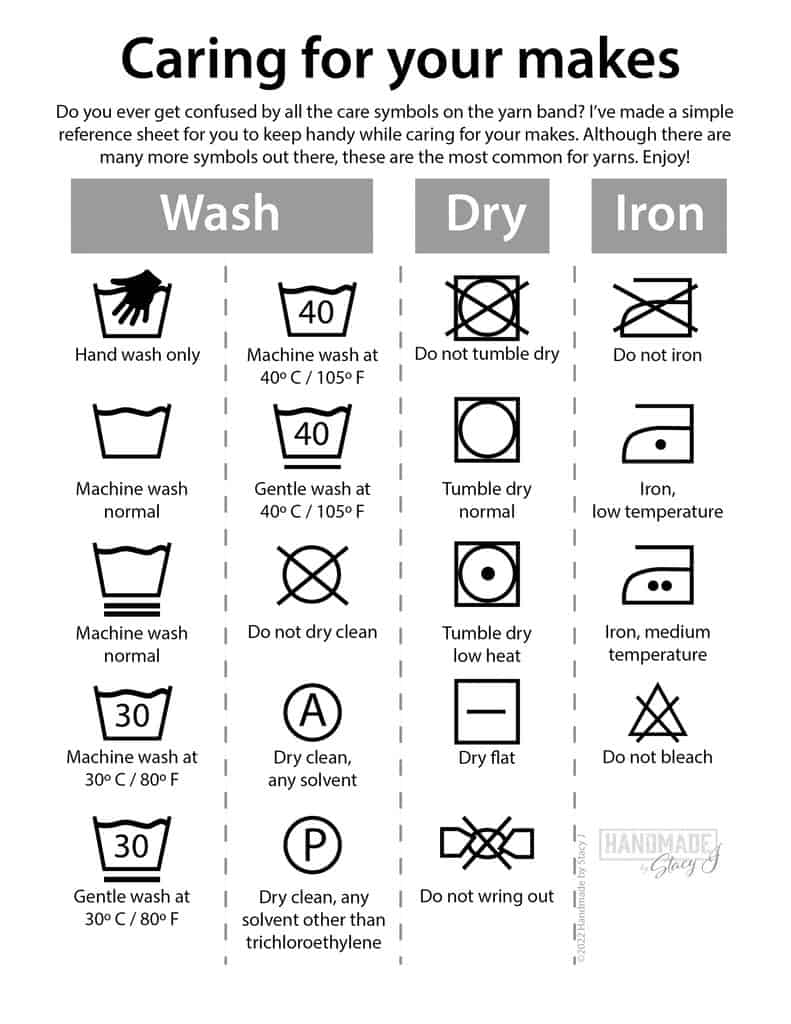
Care Instruction Symbols: what do they mean? How many times have you purchased a ball of yarn and saw the symbols on the side? Then asked yourself, “What in the world do these mean?” What are the little boxes? What do the lines mean that are under the Wash symbol? What about the numbers 30 and 40?

There are so many different symbols and sometimes the yarn band doesn’t share the written directions for care. However, the care instruction symbols are pretty universal. Even though there are lots of symbols, I put together a printable graphic with the verbiage of the most common symbols used. As well as the Celsius and Fahrenheit conversions of temperature.

As a maker myself, I particularly find the washing and drying instructions the most useful. I like to know when I can put my makes in the dryer or if they have to dry flat. Typically, I hand-wash everything I make. But, when you make a large blanket, it’s nice to see if you can pop it in the washer.

Feel free to print out this pdf and then pin it in your laundry or craft room.

To use this graphic, simply download the link below, then print the pdf.

 Caring for your makes

I hope this graphic is as helpful for you as it is for me. Enjoy!

Stacy J

Subscribe on YouTubeJoin me on FacebookFollow on Instagram

Patterns on RavelryInspiration on Pinterest

Horn Cable – How to knit

The Horn Cable is a fairly simple cable stitch that uses two 4-stitch cables to create an interesting fabric. It’s worked over a panel of 16 stitches with a background of reverse stockinette and uses Cable 4 front and back stitches to create a dense fabric. This stitch would be a lovely stitch pattern to use for a sweater, hat, scarf and / or a blanket.

There is a chart below for reference, as well as a video link above to help you. And, if you’d like to see a fun time-lapse video I made while working on this stitch, simply scroll to the very bottom of this post.


Disclosure: This post contains affiliate links. As an affiliate, when you purchase through my links, you allow the company to pay me a small commission without costing you a penny more, which allows me to continue making free content. Thank you for your support!

Materials needed

(listed below is what I used to create the sample of the Horn Cable stitch pattern)

  • Paintbox Yarns Simply DK yarn in color Light Grey (#104), approximately 21 yds
  • Size 6 / 4 mm knitting needles
  • Cable needle
  • 2 stitch markers (optional)

Stitches and abbreviations used

K: Knit

P: Purl

PB1: Purl through the back loop

RS: Right side

St(s): Stitch (es)

C4b: Cable 4 back – slip next 2 sts from left hand needle to cable needle, hold to back, k2 from left hand needle, then k2 from cable needle

C4f: Cable 4 front – slip next 2 sts from left hand needle to cable needle, hold to front, k2 from left hand needle, then k2 from cable needle

WS: Wrong side

X: Times (example: 3x = 3 times)

Notes:

  • To make this stitch a little easier and to keep track of the panel, try inserting stitch markers between panels. This way it’s easier not to not get confused as to where the background of reverse stockinette section and the cable panel is.
  • To help minimize the gap of the cable, I give a light tug on the stitch afterward and it helps to close up the gap a bit.

Pin of the knitted Horn Cable from Handmade by Stacy J
Here’s a pin for your Pinterest board 🙂

Directions

(worked over panel of 16 sts with background of reverse stockinette). Directions are for the cable panel only.

  • Row 1 (RS): K4, c4b, c4f, k4
  • Row 2 and all WS rows: Purl
  • Row 3: K2, c4b, k4, c4f, k2
  • Row 5: C4b, k8, c4f
  • Row 6: Purl

Repeat rows 1-6 to desired length.

Chart showing how to knit the Horn Cable stitch created by Handmade by Stacy J

I hope you enjoyed learning this stitch as much as I did. Please tag me @handmadebystacyj when posting on social media – I’d love to see your makes!

Stacy J

YouTubeFacebookInstagramRavelryPinterest

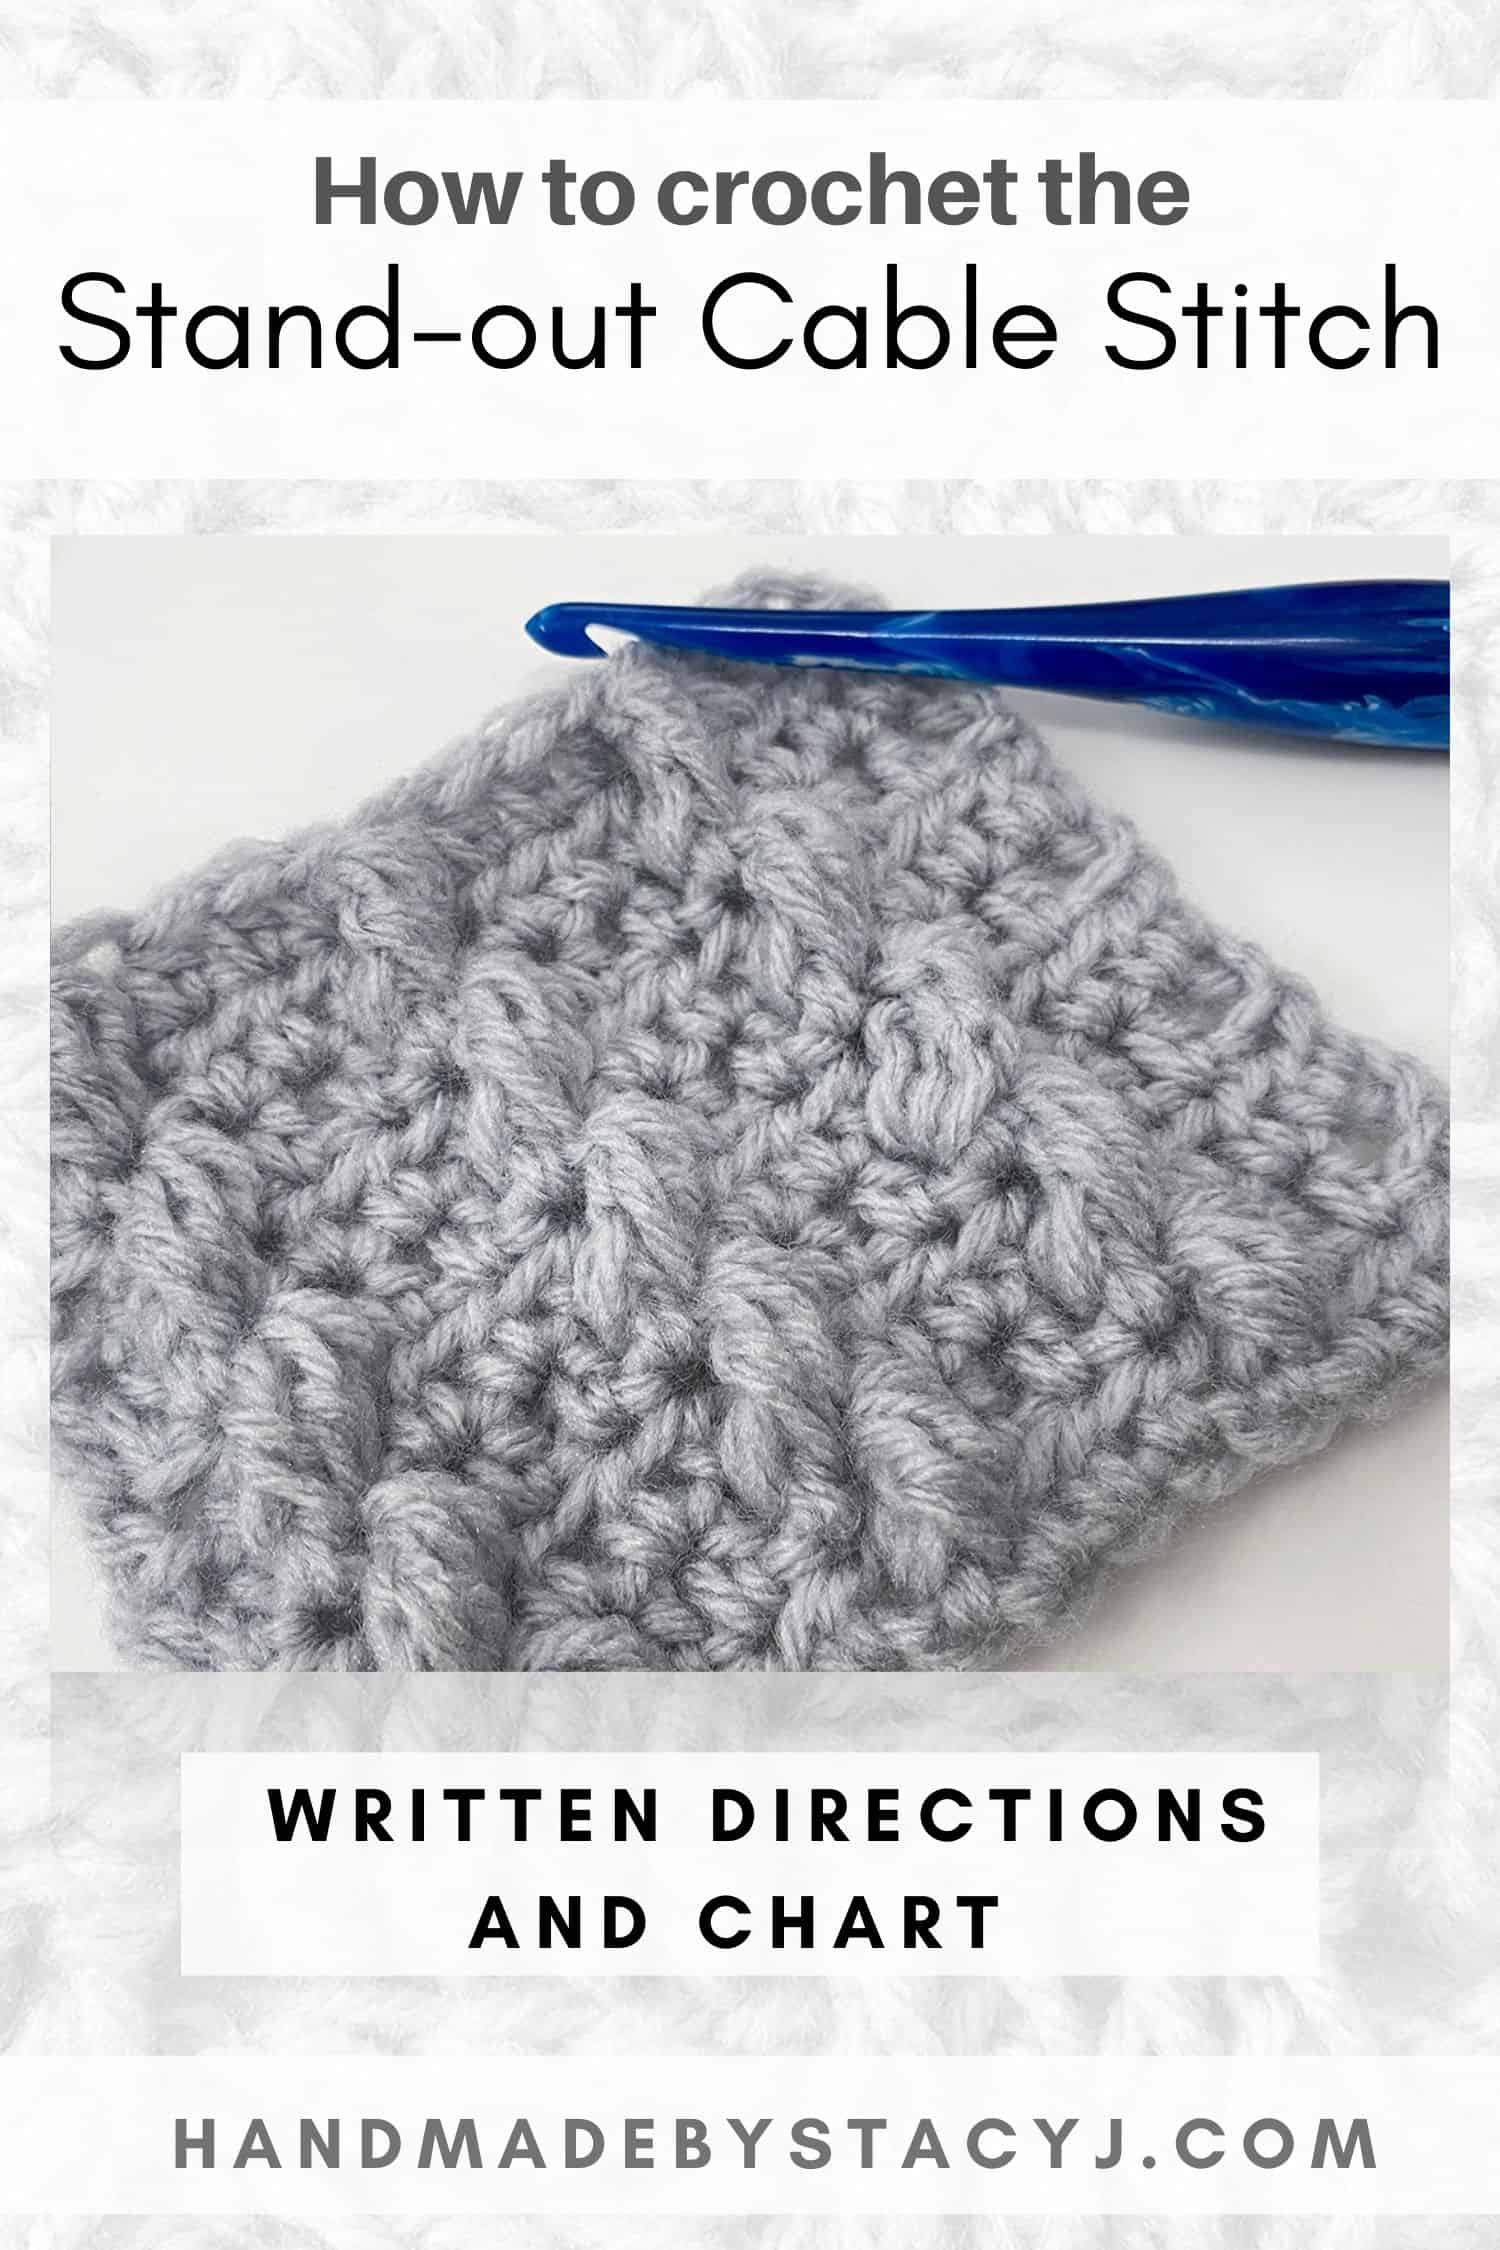
Stand-Out Cable Stitch

The Stand-Out Cable stitch is a combination of half double crochet and front post double crochet clusters. The combination of stitches create a cable look with a flat back. As a result of using those stitches, this works up very quickly and also works over a 2 row repeat.

It’s a fun stitch to add to your stitching knowledge and would be wonderful for a blanket, scarf or a hat!

Disclosure: This post contains affiliate links. As an affiliate, when you purchase through my links, you allow the company to pay me a small commission without costing you a penny more, which allows me to continue making free content. Thank you for your support!


Here’s a pin for your Pinterest board 🙂


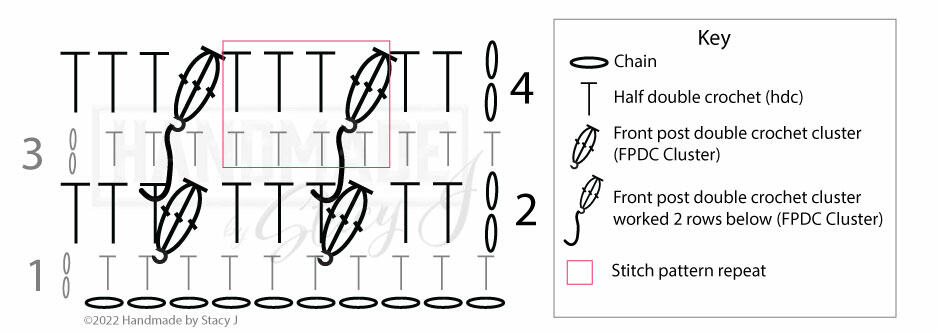
If you’d like to see a video tutorial of this stitch, please scroll to the top of this post or you can click HERE. Also, at the bottom of the post there is a chart for your reference.

If you’re looking for your next favorite hook, click HERE to check out Furls!

Stitches and abbreviations used:

Pattern is written in US terms

Ch(s): Chain(s)

Ea: Each

Hdc: Half double crochet

Rep: Repeat

RS: Right Side

Sk: Skip

St(s): Stitch (es)

WS: Wrong Side

Yo: Yarn over

Special stitches:

  • FPDC Cluster: Front Post Double Crochet Cluster – *YO once, insert hook front to back around post of indicated stitch, YO and draw up a loop (3 loops on hook), [yo, draw through 2]; rep * twice more, YO and draw through all 4 loops on hook.

Directions

Note: Ch-2 at beg of row counts as first hdc

Chain in multiples of 4

1 (WS): Work 1 hdc in third ch from hook (2 skipped chs count as first hdc) and in ea ch across

2: Ch 2, turn; (RS): work 1 hdc in ea of next 2 sts, *sk next hdc, work FPDC Cluster around next hdc, 1 hdc in top of hdc just worked, 1 hdc in ea of the next 2 sts; rep * across

3: Ch 2, turn; (WS): 1 hdc in next st and in ea st across

4: Ch 2, turn; (WS): Work 1 hdc in ea of the next 2 sts, *sk next st, working in front of previous row, work FPDC Cluster around hdc one row below next hdc, 1 hdc in ea of the next 3 sts; rep * across

Repeat rows 3-4 to desired length.


Here’s a tip to even out the symmetry of the edge stitches

Try working the pattern by adding 2 more hdc to your beginning ch / row and then work them at the end of RS rows and beg of WS rows.

Chart showing how to crochet the Stand Out Cable Stitch from Handmade by Stacy J


I hope you enjoyed learning this stitch as much as I did. When you make something with it, could you please tag me @handmadebystacyj or #handmadebystacyj – I’d love to see what you create!

Stacy J

YouTubeFacebookInstagramRavelryPinterest

Basketweave Stitch

The Basketweave stitch is one of the first stitches that I ever learned how to crochet when I was young and my mom was teaching me. It was so amazing to me how creating a combination of stitches would create such a wonderful fabric; plus, it was fun AND easy!

It’s a combination of front and back post double crochet and it creates a wonderful weave with a reversible fabric that looks like a basketweave! As a result of using double crochet stitches, it works up very quickly, too! This stitch is very beginner friendly and would be wonderful for a blanket, scarf or a hat!

Disclosure: This post contains affiliate links; I am an affiliate with these companies and highly recommend them. As an affiliate, when you purchase from those links, you allow the companies to pay me a small commission. This doesn’t cost you a penny more and allows me to continue making free content. Thank you for your support!


Stitches and abbreviations used:

Pattern is written in US terms

Ch: Chain

Dc: Double crochet

Ea: Each

Hdc: Half double crochet

Rep: Repeat

RS: Right Side

St (s): Stitch (es)

Tch: Turning Chain

WS: Wrong Side

Yo: Yarn over

Special stitches:

  • BPDC: Back Post Double Crochet – Yo once, insert hook back to front around indicated stitch, draw up a loop (3 loops on hook), [yo, draw through 2] two times
  • FPDC: Front Post Double Crochet – Yo once, insert hook front to back around indicated stitch, draw up a loop (3 loops on hook), [yo, draw through 2] two times


Here’s a pin for you Pinterest board 🙂


Directions for how to crochet the Basketweave Stitch

Note: Ch-2 at beg of row counts as first hdc

Chain in multiples of 8 + 4 for base chain

1 (RS): Work 1 dc in fourth ch from hook (skipped chs count as first dc) and in ea ch across

2: Ch 2, turn; (WS): *1 fpdc around ea of the next 4 sts, 1 bpdc around ea of the next 4 sts; rep * ending with hdc in top of tch

3: Ch 2, turn; (WS): *1 fpdc around ea of the next 4 sts, 1 bpdc around ea of the next 4 sts; rep * ending with hdc in top of tch

4: Ch 2, turn; (WS): *1 bpdc around ea of the next 4 sts, 1 fpdc around ea of the next 4 sts; rep * ending with hdc in top of tch

5: Ch 2, turn; (WS): *1 bpdc around ea of the next 4 sts, 1 fpdc around ea of the next 4 sts; rep * ending with hdc in top of tch

Repeat rows 2-5 to desired length.


Chart showing how to crochet the Basketweave stitch from Handmade by Stacy J

I hope you enjoyed learning the Basketweave stitch as much as I did. When you choose to make something with it, could you please tag me @handmadebystacyj and #handmadebystacyj – I’d love to see what you create with this stitch!

Stacy J

YouTubeFacebookInstagramRavelryPinterest